
Client review and approval
Clients approve content through a private review page — no Julexis account needed. You send the link, they preview every post, approve it or ask for changes, and you schedule what they approved.
How it works
- You send a plan (or a single post) for review.
- Your client opens the link and enters the review password.
- They preview each post, approve it or leave feedback.
- You fix what they flagged and send the link again.
- When every post is approved, you schedule the whole plan in one go.
The review password
On every plan except Personal, each client has a review password, set when you add the client. You can type one or generate a strong one, and change it later from the client's edit page. The review page always asks for it, so share it with your client separately from the link.
Send a plan for review
From the plan's review screen in the Planner, or from the plan page:
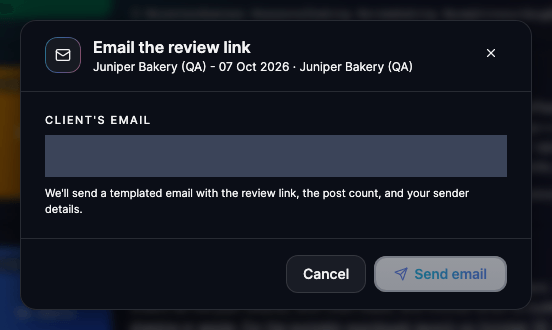
- Choose to send the plan to your client.
- Check the client's email address — it's filled in from their profile.
- Send. Your client receives an email with the review link and your contact details.
Prefer to share the link yourself, by chat or in your own email? On the plan page, generate the review link and copy it.
Watch out
Every post in the plan must be at least 24 hours away when you send it. See The 24-hour rule.
Send a single post for review
In Create post, open the menu on the main action button and choose to send the post for review, then pick its date and time. Julexis creates a review link and copies it to your clipboard; paste it to your client. The post is saved as a draft in your calendar while it waits. No email is sent for a single post.
What your client sees
The review page walks your client through five steps:
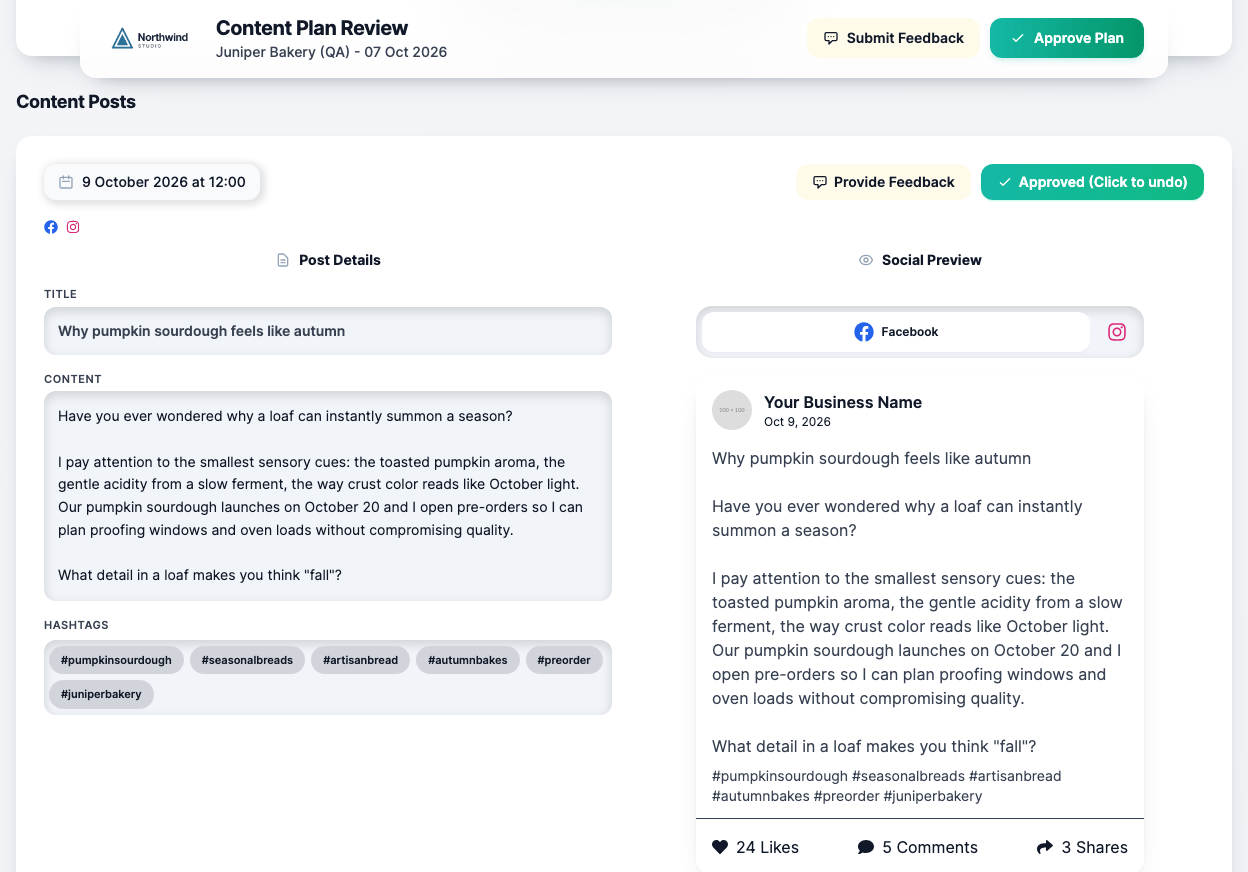
- Browse the posts — each one shows its content, hashtags, date and network.
- Preview — every post appears as it will look on the network, and a profile grid preview shows how the Instagram or TikTok feed will look.
- Leave feedback (optional) — they describe what should change: text, tone, hashtags, images.
- Approve posts one by one — a checkmark confirms each approval, and they can undo it.
- Approve the whole plan — once every post is approved, the page offers to approve the plan.
Two rules your client may ask about:
- a post with open feedback can't be approved until you've made the changes;
- to approve the whole plan, every post must be approved and all feedback submitted.
The page carries your logo when you've uploaded one — see Brand your workspace.
Handle feedback
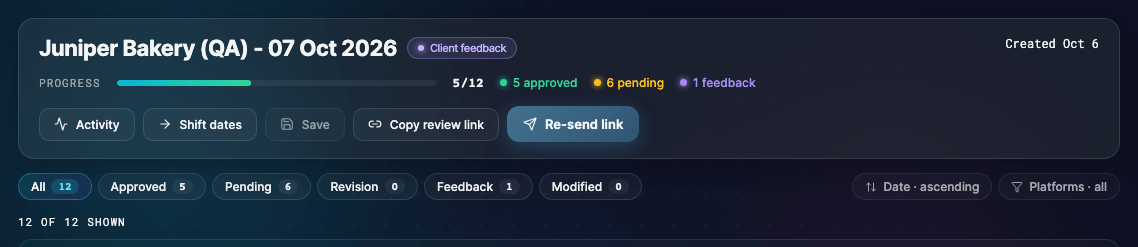
Open the plan from your dashboard or the client's plans. The progress bar fills as posts are approved, and counters show how many are approved, pending, waiting for revision or carrying feedback. Posts with feedback are flagged in the list.
- Open a flagged post and read the client's comments.
- Edit the post, or ask Juls to fix it.
- Mark the feedback as resolved.
- Send the link again so your client can approve the new version.
You're notified when a client approves or leaves feedback. You can choose to hear about every approval or only when the whole plan is complete — see Notifications and email alerts.
Approve a post yourself
You can also approve a post from the plan page — for example after confirming it with your client by phone. When every post in a plan under review is approved, the plan becomes approved.
Schedule the approved plan
Once the plan is approved, the plan page offers to schedule all its posts in one go. Each post goes out at its own date and time, and you'll find them all in the calendar. Scheduling needs at least one connected account for the client.

The 24-hour rule
A plan can be sent to a client only if every post is scheduled at least 24 hours ahead. It leaves your client time to review before anything is due. If some dates are too close, move those posts, or use the plan page's option to shift the plan's dates.